

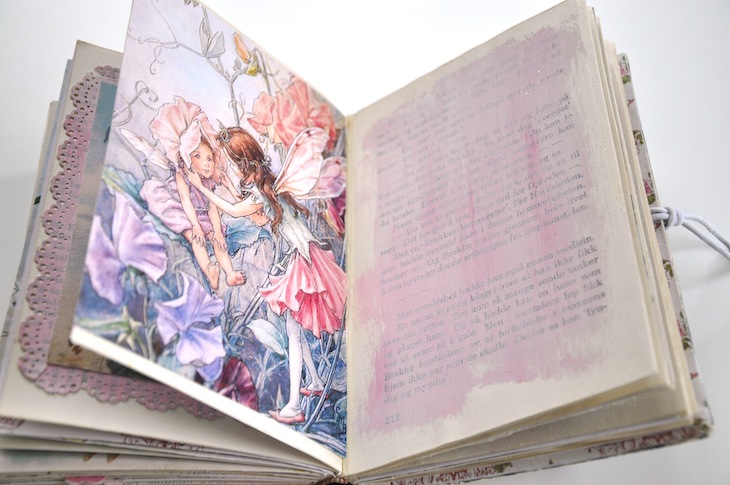
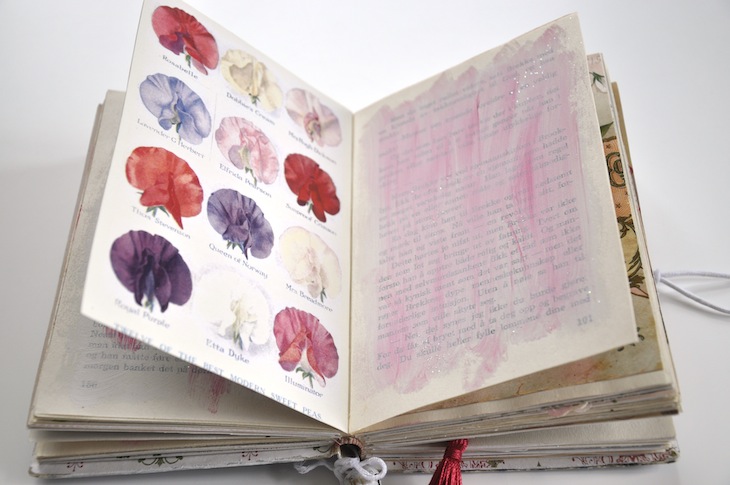
I am very excited to present my main ol’ book craft: A Sweet Pea Journal!

I made this altered book journal as a surprise gift for my friend Ingeborg, who I happen to know loves Sweet Pea imagery. So I started out with that as a main “theme” for her journal.


Of course I also had to add some special Wings of Whimsy-touches, using some of the papers I have created previously:


Here is how I did it, if you want to try altering your own old book into a journal:
INSTRUCTIONS
- Choose a book with nice & thick pages (avoid thin pages for this project) and make sure the book construction is still good (you don’t want a book that is already falling apart)
- Flip two pages
- Cut out two pages with an exacto knife, as close to the spine as possible without damaging the spine. I inserted a thin metal ruler behind the two pages and cut agains that.
- Repeat steps 2 & 3 throughout the whole book, reducing the number of pages to half.
- When I passed the middle of the book, I turned it upside down and did the second half from the other side.
- Gesso a few of the loose pages and add a little color if you please and sprinkle with glitter. Leave pages to dry over night.
- Print out the images you want for your journal. Experiment with the size settings to fit your book. For my book I printed two images per A4 sheet.
- If you want your images to cover the whole spread (both pages of the book), you need to either choose a book that is smaller than A5, or print your images in A3 size
- For whole spread images, make a nice and sharp crease down the middle before attatching
- Use spray glue for inserting images, one at the time. My trick is to spray into a big paper bag, allowing me to spray indoors while not getting glue everywhere!
- I started with the whole spreads, and inserted them randomly distributed throughout the book. Focus on getting the middle crease as close to the spine as possible
- Cut off excess parts of the images as soon as the glue is dry (about 5 minutes).
- When inserting images a few pages apart, you can do several at the time.
- If you are inserting images to the front and back of the same side, I recommend glueing one first, cut of excess and then the other (for a neat finish)
- Insert your chosen imagery evenly spread out through the book, I mainly did one image page next to a journaling page.
- Come back tomorrow for part B of this journal
The above steps explain the basics of altering an old book into a journal 🙂
In Part B, I will show you and explain some of the extra surprises I put in the journal, and Part C will show and explain the final touches 🙂
Here are a few pictures from my process:

Leave 2 pages, cut out 2

Gesso, paint and glitter are added to the pages, leave them to dry overnight. I did not layer it on too thick, since I wanted the text to show through a little.
I used the following Wings of Whimsy-papers for the whole spreads:
I will be adding all the images of the finished journal in a special album below, so you can view high quality images if you wish (click on button to see the album):

If you are looking for imagery on a particular vintage theme, why not try my Pinterest boards, I have many different themes, including two garden themes, the Sweet Pea images are gathered on the DIY Vintage Garden board:

Did you enjoy this post? If you are not already a confirmed follower of Wings of Whimsy, please click “Follow” to register and make sure you don’t miss future posts on WoW:
- WordPress-users: in the top left corner of your browser window to register your WordPress-account
- Other readers: in the bottom right corner of your browser window to register your email-address
")
 Follow me on Pinterest:


Hi dear Gunnvor, naaaaaaaaaah astonishing pictures! They are 99% as good as the gorgeous journal is in real! I’m so proud of it and I love it so much. You are so generous and kind. I will treasure it forever. I love just everything in it, each and every page! You should show how you’ve attached that pretty button to the front as well. You’ve done that so clever and so pretty! Your pictures are so clear! Thank you so so much again dear for such a pretty gift. Words can never do justice to the beauty of it!!!! You’re a sweet pea yourself too LOL ;D
hugs
Ingeborg
Thank you again my very own Sweet Pea Fairy Queen Ingeborg 😀
There will be two more parts presenting your journal, including the button…:-P I just had to split it into several posts, since there are quite a few details to show…lol!
Please know that all your words of praise are very very encouraging to me, as I’ve been feeling a little like my “art” was not good enough, compared to the handicrafts of others. Knowing that you like it and appreciate the thought is a priceless reward to me 😀 xoxoxo
Never ever think that again that your art is ‘not good enough’. Who has put that in your head?! Any art from anyone is unique and a reflection of personality and can never be compared to others’ work! So…….. knot that in your ears dear little flower fairy LOL. The thought behind those buttons striked me. So sweet! I am adoring it! And THANK YOU AGAIN so much!!!!! LOL One can never say thank you enough times ;-))) Greetings and big hugs from a couple of hundreds kilometres away! xox
Wow Gunnvor, that is wonderful!
Thank you so much 🙂 xoxoxo
I LOVE this!! So pretty! ❤
Awww, thank you Dear 🙂 xoxoxo